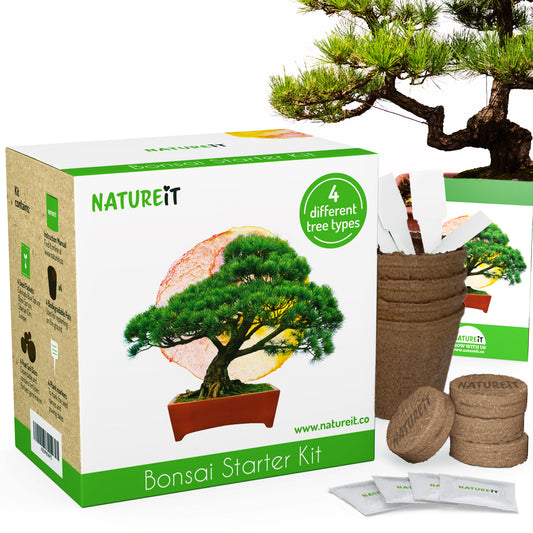
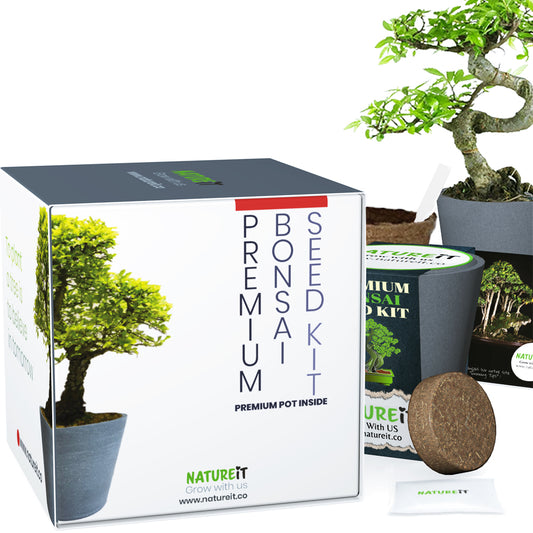
So you’ve planted Natureit Bonsai seed starter kit and got the job done right! Now you’re starting to see your seedlings growing and wondering what’s next. Once the seedlings are a few inch tall, it’s recommended to transplant it into its new home.

Unlike any common herb or vegetable which can be transplanted after a few weeks, the Bonsai tree usually takes a few months to a year until it is ready to be transplanted.
You do not want to harm your newly grown plant, and therefore you should transplant only when your plant is ready and do so gently and slowly.
The best time to transplant the Bonsai tree, when ready, is usually during spring. This is when the tree is still not in its cycled growth stage and coming out of dormant. If you see that the plant is ready sooner and needs the new soil and space, you can consider doing it sooner.
A rule of thumb for when to transplant your plant is when it is about 6” in height.

Wait for your tree to develop a few sets of leaves and don’t transplant before it does.
We know how hard it might be to say goodbye to some of the seedlings that sprouted so long ago, but you will have to thin out the weaker, less healthy sprouts before transplanting your tree. Don’t try to separate the individual seedlings for each other, as their roots are tangled beneath the soil and it's easy to damage them.
Signs it’s time to transplant:
- If the soil won’t absorb the water as it used to and you see it’s drying much faster than before, it means that it’s time to transplant and give the roots new, fresh soil to feed from and space to grow in.
- If you notice roots coming up to the surface or out of the bottom of the pot it should be the time to transplant.
- Notice any discolorations? This is also a sign for when it’s time to transplant your tree. It is also a sign for low nutrients so make sure you check the other signs and your plant’s health before transplanting.
Don’t start the transplanting process before you get all your supplies ready.
Transplanting is very stressful to the plant and you do not want to do anything that might harm it in this stage. Get your new soil, the new pots, have water ready and food for your plant’s nutrients.
Start by filing the new pots with the fresh soil, making sure the soil isn’t drenched with water and is still fluffy. If transplanting in the ground – make sure you wet it before planting.
When you get your soil ready, dig a hole and have it big enough and waiting ready for your sprout.
Now it’s time to get your seedling out of its old home and into the new.
This will need to be done very gently to not damage the plant and its roots.
Carefully squeeze and pat the sides of the pot, helping the soil to loosen from the edges of the old pot.
Put your hand on top of the soil, placing the plant seedling gently between your fingers, supporting it, and slowly turn the pot upside down, allowing the soil to slide out of the old pot. Do not try to pull or yank the seedling!

If this is not going as smooth as it should, you can take scissors and cut the sides of the pot.
When your plant is out simply place it in the hole you created and fill around the roots with soil, gently pressing it down. Water the soil after transplanting. Adding plant food will help the plant recover from the process.
Using our biodegradable pots will allow you to replant your tree directly in the ground or into a new pot – just make sure to cut the bottom of the pot before doing so to allow the roots to grow deeper in the ground.

A few more important tips:
- Transplant in the evening. Don’t do it in the sun.
- Give your plant time to recover by keeping it away from hot, direct sunlight.
- Don’t rush into transplanting. It’s better to wait than to do it too soon and harm your precious plant.
Happy Growing!